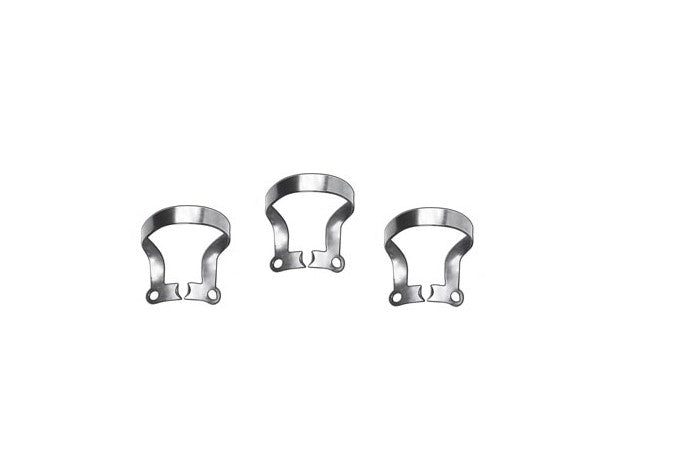
When in search for a clamp used during restorations on canines and premolars of the upper and lower jaws, the OC clamp is guaranteed to have everything you are looking for. For starters, it is made of the highest quality stainless steel with perfect shape memory. In addition, its very flat and long arm which extends to the bow allows for space to do cementation and floss contacts. Moreover, the angled design of its tines ensures security as well as a perfect four point contact on the tooth. A key advantage that our OC clamp holds over other clamps is the ease with which it allows one to remove excess cement – the clamp leaves plenty of room to floss all the way down to the bottom of the contact and aid in said process.
When it comes to its use, there are a few general steps that must be followed (with freedom to include other ones as you may deem fit):
- Isolate the quadrant (using the clamp first technique is highly recommended in order to aid with this step. This is because an accessory clamp on the overlay helps with maintaining bulbosity during inversions)
- Clamp first technique:
- First, place an anchor clamp on the tooth which is located behind the target one.
- Next, stretch the band over the clamped tooth.
- Finally, put the band in a frame.
- It is important to keep in mind that if you notice that the clamp is riding up on the overlay preparation when you place it, we recommend that you open up the OC clamp, place it on and snuggle (shimmy) it down the tooth as need be.
- First, cleaning off any excess temporary cement.
- Then, trying the restoration on to make sure it fits.
- The silane procedure follows.
- Lastly, isolation of tooth, etching and rinsing is done according to preference.
With the above steps in mind, you are fully equipped to work with our popular OC clamps. We hope you make use of their great stabilizing capabilities as well as their unique offset tines.

