One of the key tools in the process of direct restorations as well as other endodontic procedures is the rubber dam. It’s primarily used to isolate the dental operative field, which also helps prevent moisture contamination during restorative procedures. Additional benefits of implementing the rubber dam in your routine are enhancement of visibility as well as operative access, increased patient safety and airway protection, decreased stimulation of the gag reflex and improved contrast of the adjacent teeth. A great majority of pediatric restorative practices demand the use of dental dams, therefore it’s important to make sure that your pick is tailored according to the specific requirements of the respective situation.
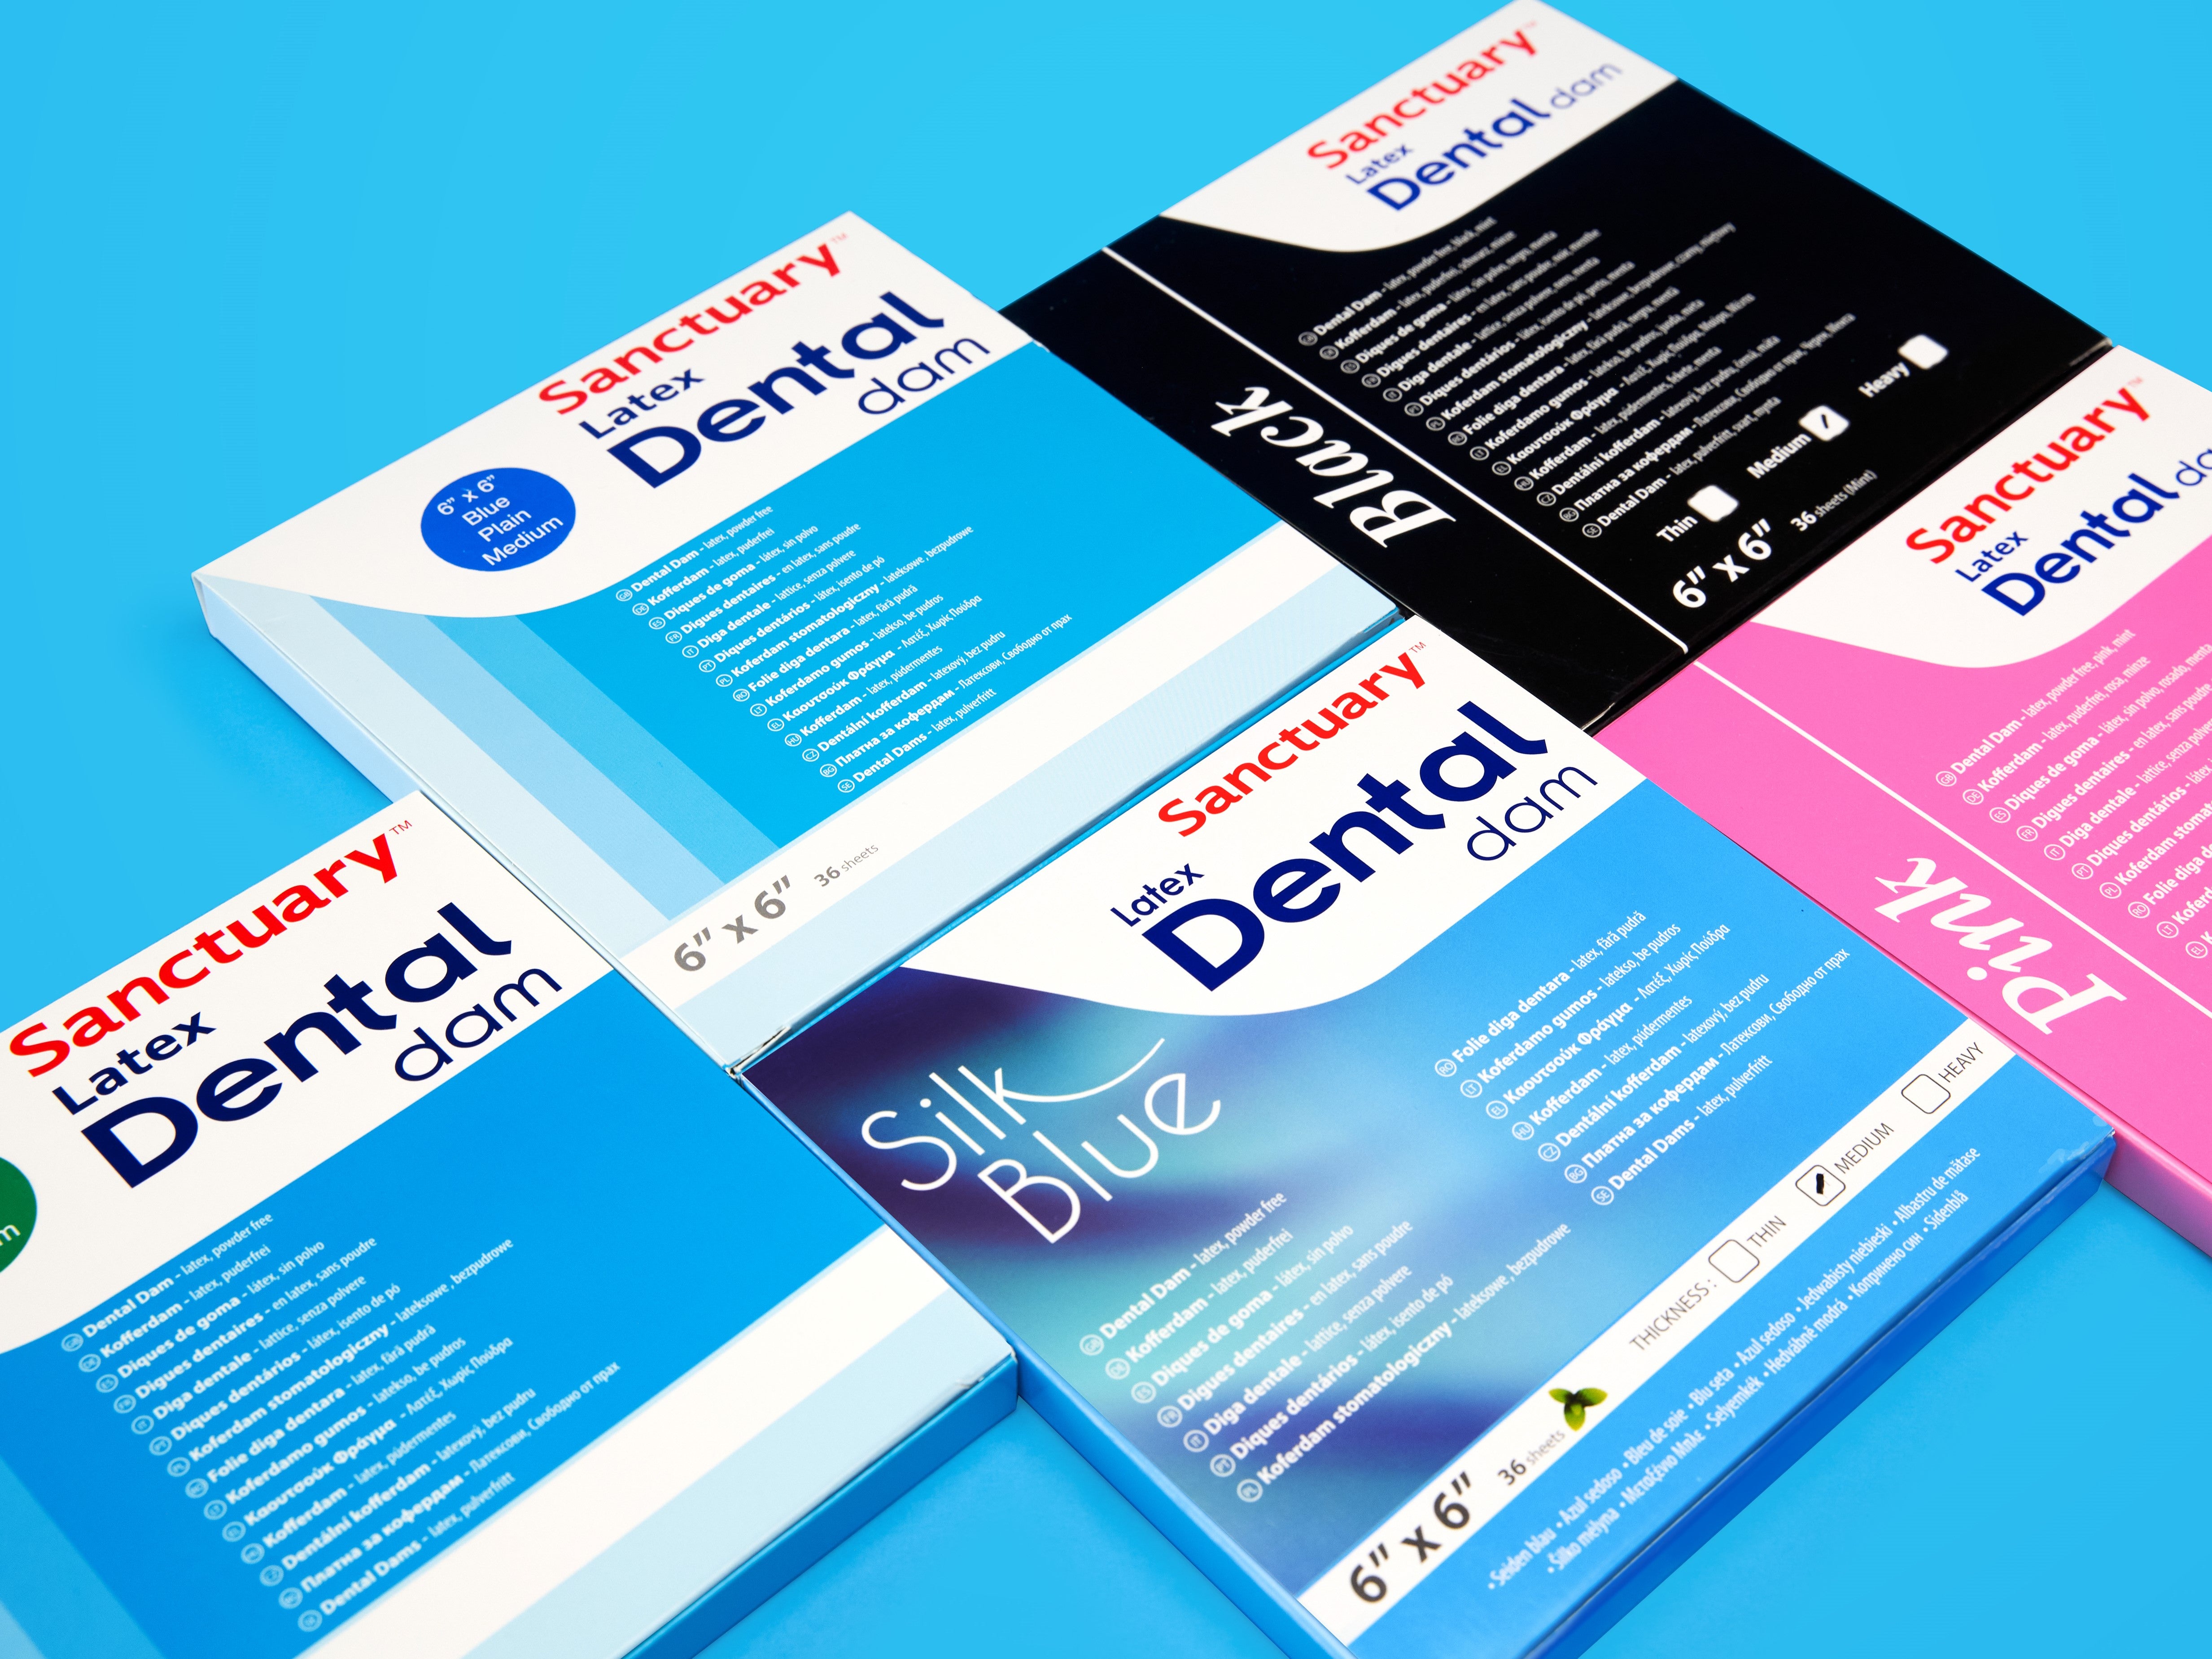
When choosing the dam you will be working with, you must consider the unique attributes each type offers. The most traditional pick is a latex dam which is normally powder- free and offers a high tear tolerance. However, if the patient is allergic to latex, there’s also a latex- free option which is just as effective. Lastly, there’s a liquid dam that can be used in the isolation of teeth and tissue, it stays soft and flexible in addition to being easily removable.
Choosing the appropriate clamp is another step that will guarantee the smoothness of the procedure. You can find more information on how to do so here
Once the proper dam and clamp are chosen, it’s important to create a custom rubber dam template for each patient by marking the rubber dam sheet and then hole punching it outside the patient's mouth. Now, the rubber dam is ready to be attached to the teeth. Its application is as follows:
- Depending on the case, there may be a need for a dental clamp to be secured on the tooth surface first for extra stability
- Afterwards, the holes are stretched over the teeth and adjusted accordingly
- Dam inversion into the gingival sulcus is sometimes necessary. This can be achieved through either blowing air with an air/water syringe around the cervical portion of the soon to be restored tooth, while pushing the dam into the sulcus using a cord-packing instrument. Or through using floss ligature if the margins are subgingival.
The removal of the rubber dam also consists of several typical steps:
- Firstly, all debris must be rinsed
- Then, any ligatures used for the stabilization of the dam must be removed
- In order to remove the dam’s interproximal septa from any interproximal contacts, the dam must be stretched (sometimes, the septa are required to be cut with scissors)
- At last, the clamp, frame and dam are all removed as a unit using the rubber dam forceps
- A final inspection of the mouth should reveal whether there is any debris or excess rubber dam material left behind
In closing, a successful restoration can be obtained if a simple dam placement protocol is followed. The use of dental dams will ensure a fast isolation process that will ameliorate patient safety, provide access to both the operator and the assistant as well as yield sufficient visualization of the operative field. Hence, we strongly recommend implementing dental dams in your restorative practices!

